Creating a New User
Each of your users will have their own Landboss account. Watch the video in this article, or follow the instructions to learn how to create a user in Landboss.
Only Admins are able to create and edit users in Landboss. If you don't have the appropriate permission, you will not be able to access these functions in Landboss.
Step-by-step Instructions
Follow the step-by-step instructions below to add a user to Landboss.
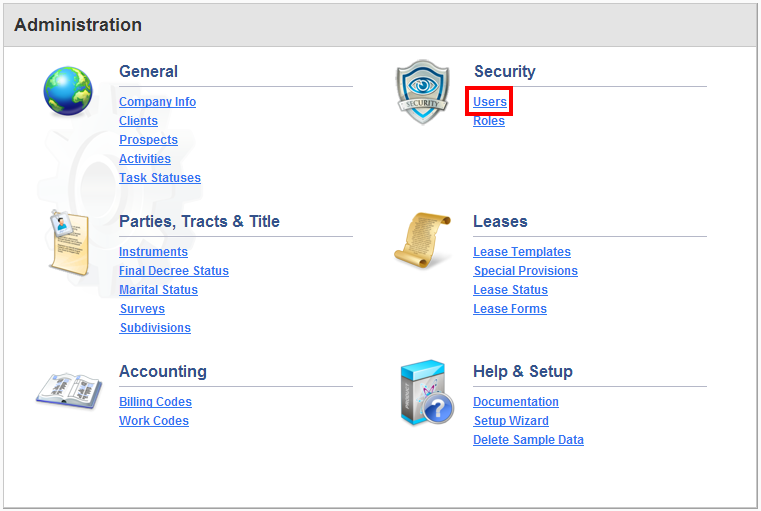
1. Click on Admin from the menu bar
.png)
2. Click on Users
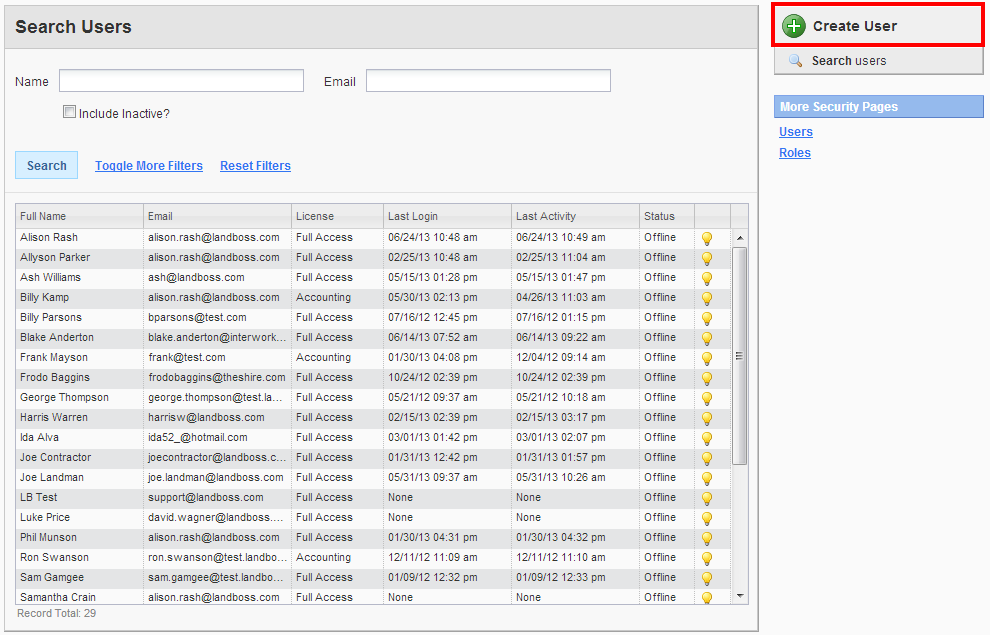
3. Click on Create User
4. Enter your User's Name, Password, and Contact Information
You will need to enter your user's First Name, Last Name, and Email address; this information is mandatory and used to create the account.
After you enter the first name and last name, you'll see Landboss will automatically create a Username for this user. If you would like to
override this, however, you may do so by clicking on the Username field and making any desired edits.
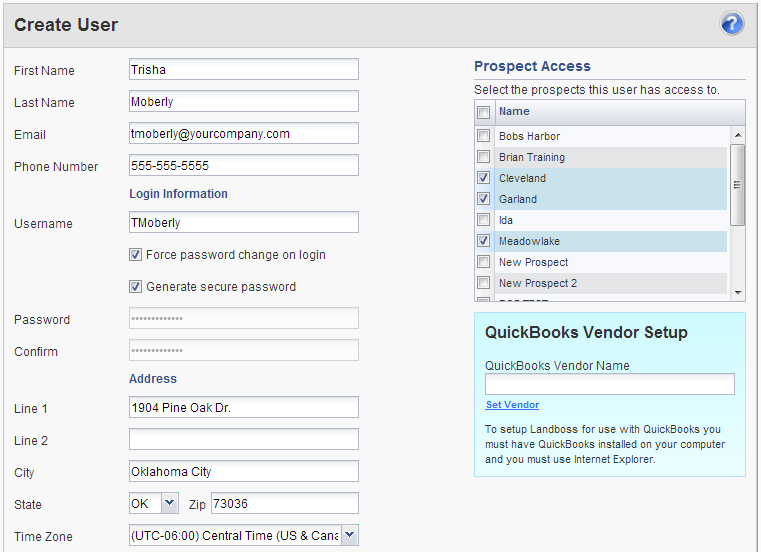
5. Select the Prospects this user has access to
Under the Prospect Access grid, check the boxes to the left of the prospects you'd like this user to access. If a user does not have access to a prospect, they will not be able to see it in Landboss.
6. Choose your user's Employee Type
There are three Employee Types; Landman/Contractor (1099), Staff, and None (Client). Which selection you make here depends on whether you want the Payroll feature to generate paychecks for this user's time entries. The Payroll module will only create paychecks from time entries for users that have the Landman/Contractor (1099) Employee Type selected, while the Staff type will invoice this user's time entries, but will not generate paychecks for the user.
7. Choose your user's Role
Roles are a set of permissions that control what your user can access in Landboss. For example, if you're creating a new user, you have the System Admin role, and can create and edit users.
To see a more detailed discussion of Roles, view the Roles Help page.
8. Assign a License to your user
There are four options here, depending on the licenses you've purchased from Landboss. Note that License Type and Roles work together. For example, if you select the Landman role and the Accounting license type, the user has access to entering only his own time.:
- None: Selecting this button means the user will not have a license. They will be able to log in, but all they will see is the Home page with no information displayed.
- Accounting: Allows user access to the Accounting features only (no land and leasing features).
- Full Access: Allows access to both the Land/Leasing and Accounting modules in Landboss.
- View-Only: This option will be selected if the user you're adding is a Client. This allows only view-only access to Landboss and this user will not be able to make edits.
9. Click Save or Save and goto Pay Rates
When finished, click Save or Save and goto Pay Rates. If you click Save, it will return you to the Search Users screen. If you click Save and goto Pay Rates, you can enter this user's Pay Rates.
What happens after you click Save? Now, your user is sent an email from Landboss that contains your company's Landboss URL, their username, and their password. With this information, they can log in.
Comments
Be the first to post a comment