Viewing and Editing Timesheets
Selecting a Timesheet
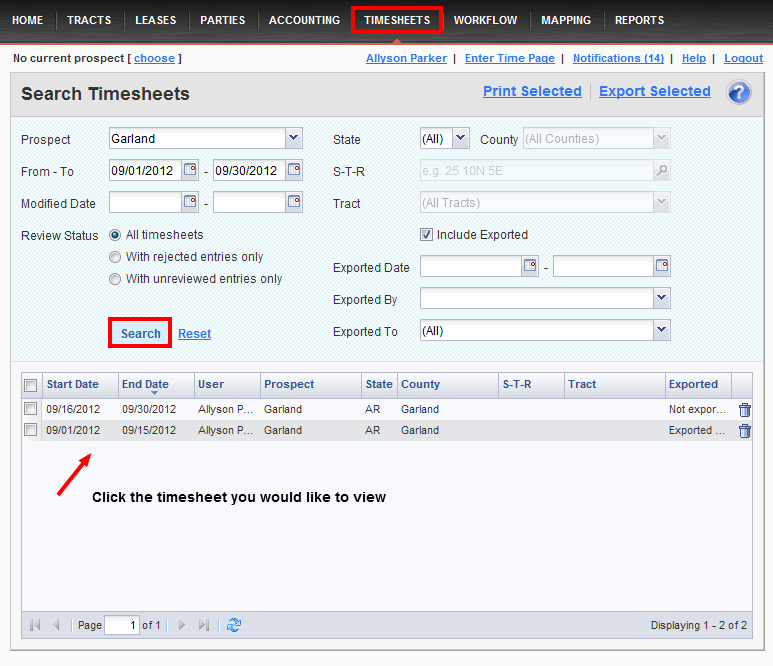
To view or edit an existing timesheet, you'll first need to use the Search Timesheets screen to locate it. Clicking Timesheets in the main menu will take you to there where you'll be able to use the search filters to locate the timesheet. Once you have located it, click it in the search result grid and you'll be taken to the View Timesheet screen.
Going to Edit Mode
The View Timesheet screen lists the dates the timesheet covers, its location, and all of the time and expense entries on it. At the bottom of the screen, you'll find a summary block that lists the Payable total and, if you have the appropriate permissions, a Billable total. To edit the timesheet and its entries, click the Edit link in the action menu at the top.
.png)
Changing the Date Range and Location
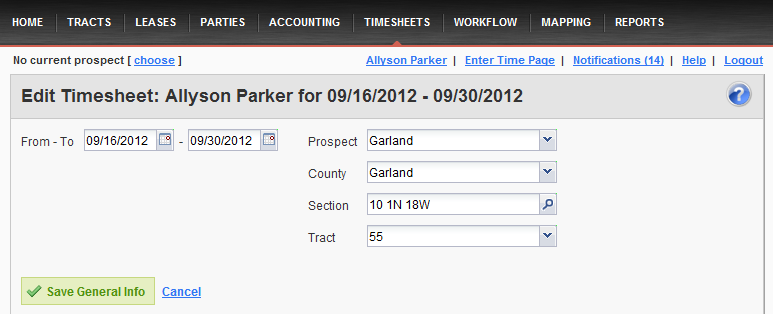
On the Edit Timesheet screen, you can change the date range that it covers and change the prospect, county, PLSS section, and/or tract that it's for.
Note: If you change the timesheet date range and/or location settings to match another existing timesheet, then they will automatically be merged.
Editing Individual Entries
You can also edit the individual timesheet entries by clicking the Edit link in the grid. If an entry has been approved then you can't edit it unless you have the appropriate permissions; therefore the link will be a View link instead. When you click the Edit link, the Edit Entry window is displayed and you can change the date, time and expenses for that entry, modify its attachments, update the notes, or change its location.
Note: If you change the date and location of the entry so that it no longer matches the timesheet, then it will automatically be moved to the correct timesheet.
.png)
Comments
Be the first to post a comment