Creating Lease Forms in Word 2003
Follow the instructions in this article to create a lease form for Landboss using Microsoft Word 2003.
There are two documents needed to create a mail merge: a Microsoft Word® document and a file with the data or records. To set up the lease forms, you’ll need to first download the data source from Landboss. The data source file contains the list of fields supported by Landboss. Next, you’ll open up Microsoft Word®, link your document and the data source together, and begin inserting the fields that are supported by Landboss into it.
1. Go to the Lease Forms Administration Screen
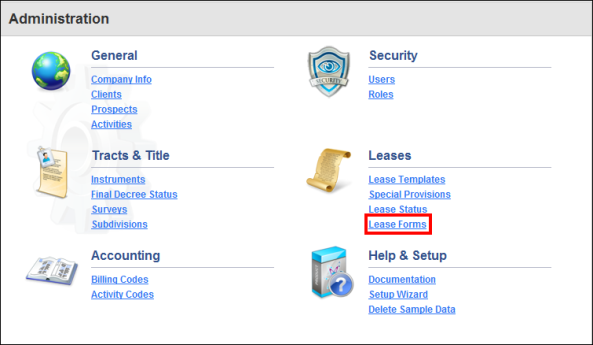
The list of mail merge fields can be found on the Lease Forms page in the Administration section. Click on the Administration button in the main menu at the top of the screen. Then, under the Leases header, click on the Lease Forms link.
Only users with the appropriate permissions will be able to access the Lease Forms’ page.
2. Download the List of Fields
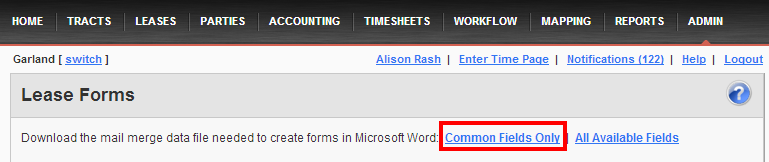
On the Lease Forms screen, click either the Common Fields Only or All Available Fields link at the top right.
3. Prepare the Template
First, open the Microsoft Word® document that you would like to use to make a lease form template. Word® has a feature, called the Mail Merge wizard, which will help you step through the process of creating your template. To start the wizard, click the Tools menu, then Letters and Mailings, and lastly Mail Merge. If the wizard asks you to choose your form type, select Letter and go to the next step where you will choose Use the current document.
Continue to the next step of the wizard and select Use an existing list option and then click Browse. Locate and open the lease form fields file that you downloaded, called LeaseFormFields.csv by default.

On the Mail Merge Recipients window that is displayed, click Select All and continue to the next step.
4. Insert the Fields
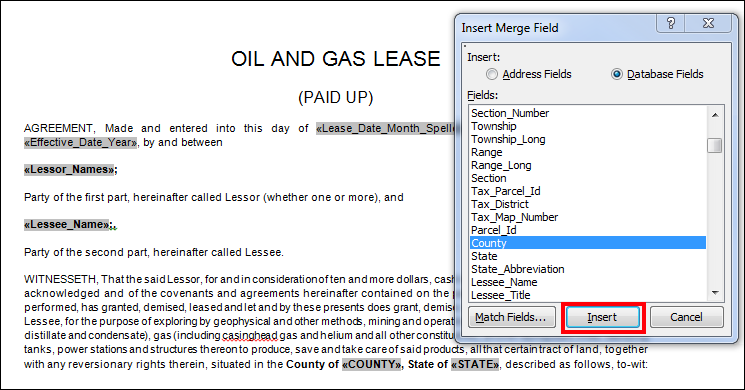
Now that you have the mail merge fields linked to your document, you can begin inserting them into your form. In Word®, click where in the document text you would like to add a field from Landboss. Next, click the More Items... link in the Mail Merge wizard pane and select which field you’d like to insert into the Word® document at that location. Repeat this step until you have finished inserting all of the fields that you would like to have populated by Landboss.
5. Preview and Save
Once you have finished inserting the mail merge fields, go to the next step to preview the results in Word®, which will replace the merge fields with sample data so you can see what the document will look like after it has been merged with data from Landboss. If you are satisifed, save the Word® document. We recommend using Save As the first time, so that you will not overwrite your original document.
You will not complete the last step of the wizard because Landboss will do the job of merging the data for you.
See the Uploading Lease Forms article to learn how to upload your new template to Landboss.
Comments
Be the first to post a comment